Creating and Editing Wiki Pages
Why a Wiki?
Wikis are designed to provide an opportunity for a group of individuals to collaboratively create content that is web accessible without knowledge or experience of HTML (Hyper Text Markup Language). Wikis can be as simple as a page of content with a menu that allows you to move to a section of the page (think Wikipedia) or a group of pages with applications that act like a website (think Google Groups). In the NCDB website, users who are a member of a group can create and edit wiki pages.
Creating a New Wiki Page
Go to your Group Home page and click the Group Wiki menu option on the left. On the following page you'll see a button labeled New Wiki Page.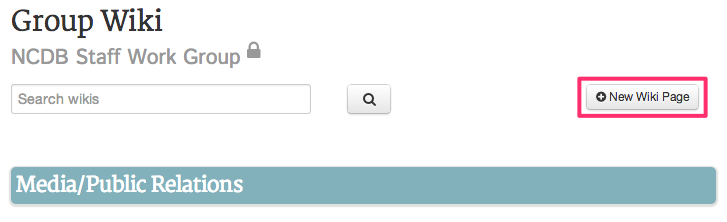
Give your wiki page a title and select an appropriate wiki category. Then you can put your text in the content box and edit as you wish.
As you place content and edit your wiki you may notice in the top right hand corner of the screen a green icon appear that says "Saved." Wiki pages are automatically saved every few seconds. 
Editing a Wiki Page
To edit an existing wiki page, first view the wiki page and then click the Edit button in the right-hand button bar as shown below.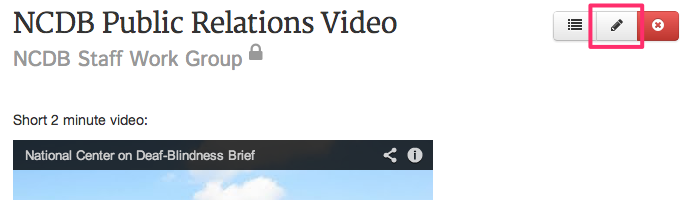
Formatting a Wiki
Open a new or existing wiki page. You will notice a bar of editing options above the content box. This is where you will format your content. For example, bolding, italicizing, underlining, etc.

Most of these options you will recognize from other tools and they are designed to allow you to create a more dynamic wiki page. For example, you are able to add photos, videos or any documents. You can insert tables, colored bars, or menu items. These functions are explained in more detail in the help item on Wiki Formatting Options.
Adding Photos _155.PNG)
Click on the add photo icon. This will pull up a window that will allow you to drag whatever photo you would like to insert. Once uploaded it will automatically add the photo to your wiki. You then can resize this photo by hovering over it and moving it to the desired size.
Adding Videos 
Click on the add video icon. A window will appear where you will insert the embed code for the video. This will also automatically place the video in your wiki.
Adding Documents 
By selecting this icon you are able to attach any document. For example if you wanted to add a word document or a PDF this is where you would attach it to your wiki page.
Creating a Table 
This tool allows you to display lists or data in an organized format. Once you click on this button a drop down menu will appear with several options of adding or deleting rows or columns.
Adding a Hyperlink 
To embed a link, select the icon and a box will pop up.
If you have highlighted text that you want to serve as the link text it will show in the title line of the box. Copy or type the link into the link line. If you have not selected text as the link text, you will need to type it into the title line of the box.